
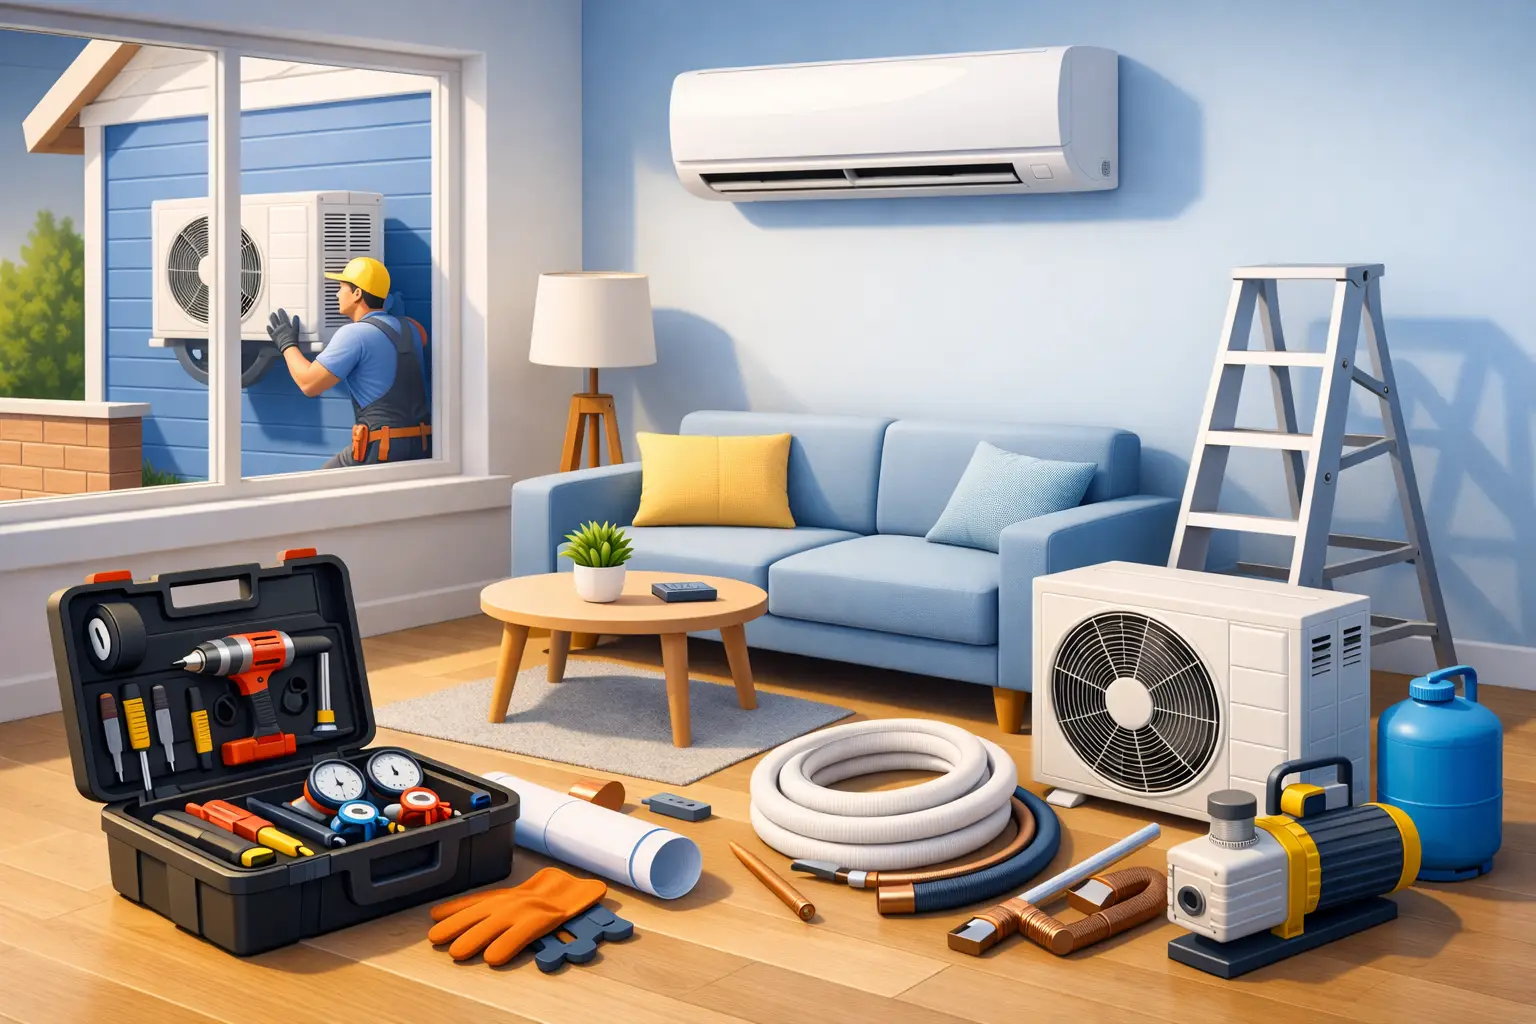
A new air conditioner should make your home more comfortable, not turn installation day into a last-minute scramble. Knowing how to prepare for AC installation helps the technicians work safely, protects your furniture and walls, and gives your new system the best chance of performing efficiently from day one.
Most preparation is simple. You do not need to handle electrical wiring, refrigerant lines, or heavy lifting. Your role is to make the work area accessible, confirm the key decisions before the appointment, and raise any building requirements early. A professional team can then focus on correct mounting, piping, drainage, pressure testing, and a proper final demonstration.
Confirm the AC installation scope before the visit
Before installation day, make sure you understand what is included in the agreed service. Standard split AC installation commonly covers mounting the indoor and outdoor units, connecting a specified length of copper piping and electrical cable, installing the drain line, vacuuming and testing the system, and checking cooling performance.
However, every home is different. A long distance between the indoor and outdoor units may require extra copper piping, cable, insulation, or drain hose. Thick concrete walls may need additional drilling time. A rooftop, balcony, or difficult external location can also affect labor requirements and access.
Ask the installer to clarify the planned unit locations, included pipe length, and whether any extra materials may be needed. Clear pricing before work begins prevents surprises and lets the technicians arrive with the right equipment.
If you are replacing an old unit, confirm whether removal and disposal are part of the service. Old brackets, damaged piping, and existing wall openings should be assessed rather than assumed to be suitable for the new system.
Choose practical locations for both AC units
The placement of an air conditioner affects comfort, energy use, noise, maintenance access, and the appearance of the room. If placement has not already been confirmed, walk through it with your installation provider before the scheduled date.
Indoor unit placement
The indoor unit should be mounted high on a solid wall with enough clear space for air to circulate. It should not blow directly onto a bed, sofa, desk, or dining table whenever another location can cool the room effectively. Constant direct airflow can feel uncomfortable, especially at night.
Avoid placing the unit above electronics, artwork, or furniture that could be affected if drainage ever becomes blocked. The wall must also allow a practical route for insulated refrigerant pipes, wiring, and the condensate drain line.
A central wall is often a good choice, but the best location depends on the room layout. In a long room, placing the unit where air can travel across the space may cool more evenly than installing it in a corner. Your technician can help balance appearance with performance.
Outdoor unit placement
The outdoor condenser needs an open, stable, and accessible location. It should have sufficient ventilation around it and should not be enclosed in a tight cabinet or crowded by stored items. Restricted airflow makes the system work harder and can reduce cooling efficiency.
Balconies, exterior walls, rooftops, and dedicated service areas can all work well when the surface and brackets are suitable. Choose a location where technicians can safely access the unit later for cleaning, servicing, or repairs.
Consider noise and heat discharge as well. Do not place the outdoor unit directly beside a bedroom window, a neighbor’s seating area, or a narrow passage that is used frequently. In apartments, check building management rules before approving an exterior wall installation. Some properties require permission, designated condenser locations, or specific mounting methods.
Clear the work area and protect your belongings
Technicians need enough room to carry equipment, position ladders, drill safely, and complete connections without obstruction. Clear a path from the entrance to the installation room, and remove fragile items from nearby shelves, tables, and walls.
Move furniture at least several feet away from the intended indoor unit location. If a bed, wardrobe, or large sofa cannot be moved, tell the installation team in advance. They can advise whether it needs temporary repositioning or whether the work area is still safe.
It is also wise to protect items that cannot be moved. Cover nearby furniture, curtains, and electronics with clean sheets or plastic covers. Professional technicians should manage drilling dust carefully and clean up after the work, but preparation reduces the risk of dust reaching sensitive belongings.
Keep children and pets away from the work zone. Installation involves tools, ladders, sharp metal edges, drilling, and electrical connections. A clear room allows the team to work faster and helps keep everyone safe.
Check electrical readiness before AC installation
An air conditioner needs a suitable electrical supply to operate safely. Do not rely on extension cords, overloaded power strips, or an existing outlet that already serves multiple high-power appliances. Depending on the unit size and local electrical requirements, the system may need a dedicated circuit, isolator switch, or other electrical work.
If you are unsure about the electrical setup, ask for an assessment before the appointment. This is especially useful in older homes, newly renovated properties, or rooms where the breaker panel is far from the planned unit location.
Make sure the electrical panel is accessible on installation day. If the installer needs to test power or isolate a circuit, blocked access can delay the job. Let them know about any prior electrical issues, including tripped breakers, flickering lights, or outlets that become warm during use.
The right electrical preparation is not only about getting the unit running. It helps protect the air conditioner, your home, and the system warranty.
Plan the drainage route carefully
Every cooling system removes moisture from indoor air. That moisture must leave through a properly sloped condensate drain line. Poor drainage can cause water leaks, wall stains, odors, and damage to ceilings or furniture.
Before work starts, discuss where the drain line will run and where the water will discharge. The route should allow natural downward flow whenever possible. A drain line that must travel upward or across a long flat route may require a condensate pump or a different installation plan.
Avoid routing drain water onto walkways, balconies used for seating, or places where it may affect neighboring units. The discharge point should be practical, neat, and compliant with property rules. A technician should test the drain before leaving, so ask to see that water is flowing correctly.
Prepare building access and appointment details
For apartments, gated communities, offices, and managed buildings, access arrangements can be just as important as the technical work. Confirm parking, elevator use, loading access, security clearance, and any required work permits before the technicians arrive.
If you rent your home, check with the property owner or manager before drilling exterior walls or installing brackets. Getting approval in advance avoids disputes over wall modifications or condenser placement.
On the day of service, make sure an adult decision-maker is available or reachable by phone. The installer may need approval for a pipe route, an additional material, or a small change in unit position. Quick decisions keep the installation moving and prevent the team from making assumptions about your home.
What to expect while the technicians work
A professional AC installation is more than mounting two units and switching on the power. The team should measure and level the indoor unit, secure the outdoor unit, route and insulate the piping, connect electrical components correctly, and seal wall openings neatly.
They should also pressure test the system, remove air and moisture from the refrigerant lines using proper equipment, check drainage, and test cooling operation. Skipping these steps can affect performance and lead to avoidable issues later.
Installation time depends on the property layout and the complexity of the pipe route. A straightforward replacement may take less time than a first-time installation requiring new brackets, long piping, electrical upgrades, or difficult access. It is better to allow the technicians enough time to complete the work correctly than to rush a critical part of the process.
Check the system before the team leaves
Once the air conditioner is running, take a few minutes for a handover. Ask the technician to show you how to use the remote, change modes, adjust temperature settings, and clean the filters. Confirm that cool air is reaching the room, the drain is working, and there are no unusual noises or vibrations.
Look at the visible piping, cable routing, brackets, and wall sealant. The finish should be secure and tidy. Keep your invoice, warranty information, and any service notes in a safe place, especially if your system will need future maintenance.
A prepared home gives your installation team the conditions to do their best work. Clear the space, confirm the details, and give the system a careful first check – then you can enjoy reliable cooling with confidence.