
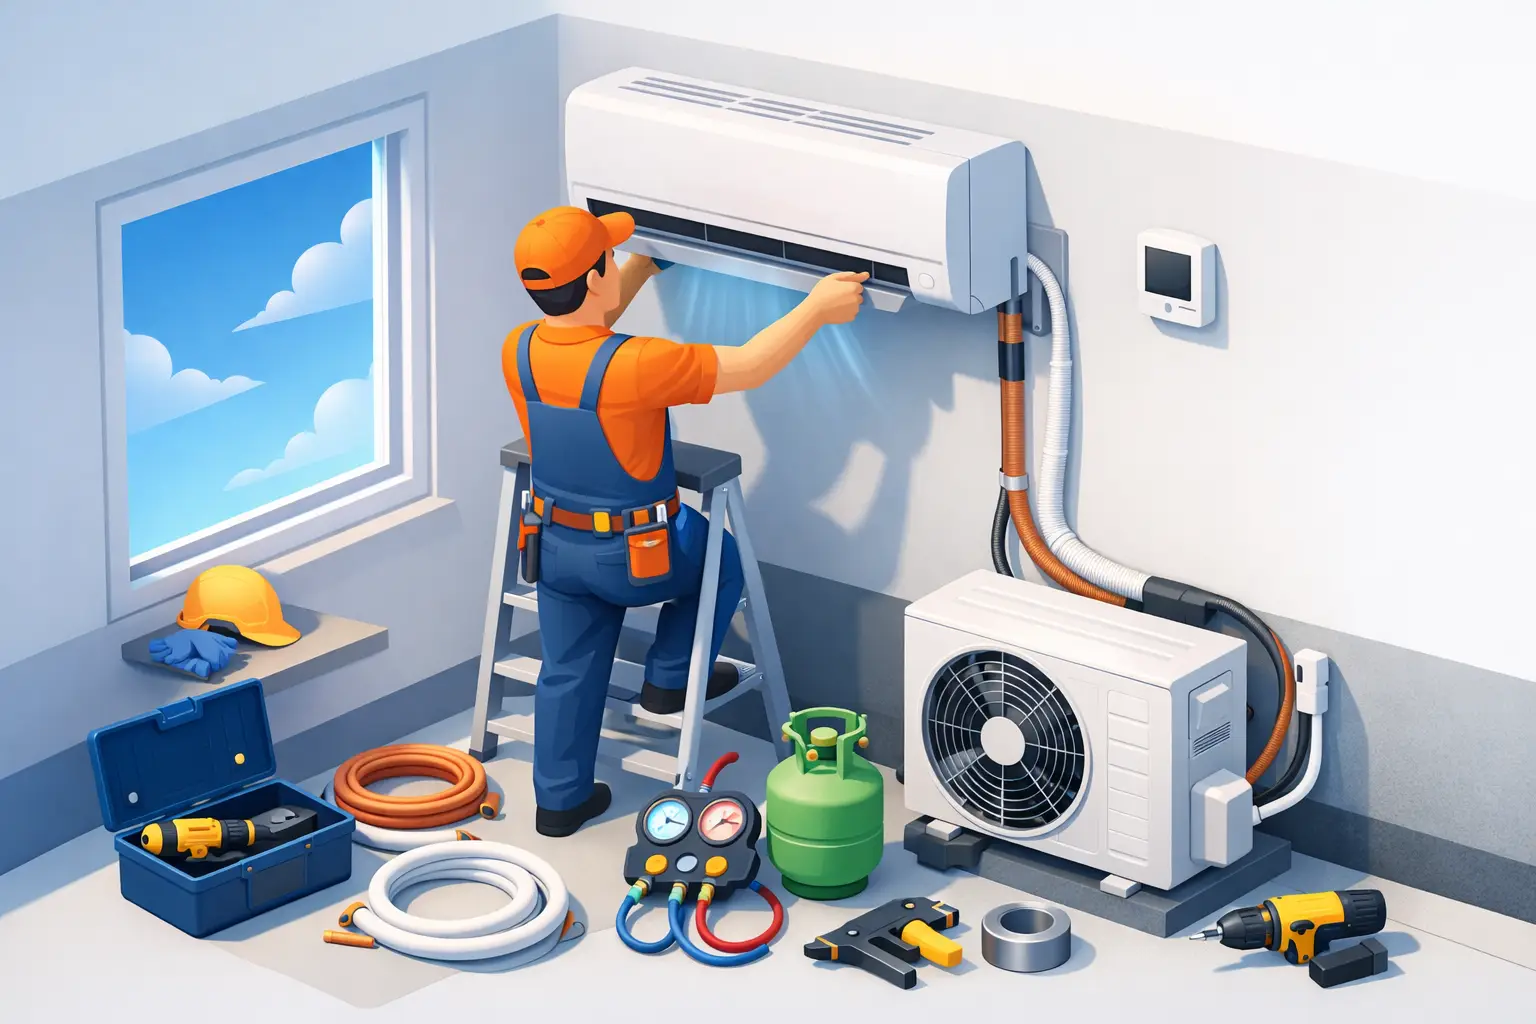
A new air conditioner should make your home comfortable from the first afternoon, not create water leaks, weak airflow, exposed wiring, or unexpected costs. This air conditioner installation guide explains what a professional setup involves, what you should confirm before booking, and how to protect the performance of your system after the technicians leave.
For most homes, especially those using split air conditioners, installation is not a DIY task. The unit must be correctly sized, mounted securely, connected with properly insulated copper piping, pressure-tested, drained, and powered safely. A small mistake at any point can affect cooling, increase electricity use, or shorten the life of the system.
Start With the Right Air Conditioner
Installation quality matters, but it cannot compensate for an air conditioner that is too small or too large for the room. An undersized unit may run continuously without reaching a comfortable temperature. An oversized unit can cool the room too quickly, switch on and off more often, and remove less humidity than it should.
Before choosing a unit, consider the room size, ceiling height, sun exposure, window area, insulation, number of occupants, and heat-producing appliances. A kitchen, top-floor room, or west-facing living area often needs a different capacity than a shaded bedroom of the same size.
For a single room, a wall-mounted split system is usually a practical choice because it is quiet, efficient, and does not block a window. Central cooling may be more suitable for a full-property solution, while a window unit can work in a smaller space where building rules and window design allow it. The best option depends on the property, budget, and how each room is used.
What to Check Before Installation Day
A smooth installation begins before any tools arrive. Confirm the indoor and outdoor unit locations with the installer in advance. The indoor unit needs clear airflow across the room, while the outdoor condenser needs open space to release heat effectively. It should not be boxed into a tight, unventilated area.
The wall must be strong enough to support the indoor unit and mounting bracket. The installer should also identify a safe route for refrigerant lines, electrical cable, and the condensate drain. A short, direct pipe route is generally preferable, but appearance, access for future servicing, and the building layout also matter.
If you live in an apartment, check property management requirements before work starts. Some buildings restrict condenser placement, drilling locations, exterior cable routing, or access to service balconies. Confirming these details early prevents delays and avoids having to move equipment after installation.
It also helps to discuss what is included in the quoted installation scope. Standard installation often covers mounting, a reasonable length of copper piping, insulation, drain piping, wiring, pressure testing, and a basic operating demonstration. Longer pipe runs, wall core drilling, electrical upgrades, brackets, trunking, high-level work, or difficult access may cost extra. Clear pricing before the visit keeps the job straightforward.
Air Conditioner Installation Guide: What Professionals Do
A professional split AC installation follows a sequence designed to protect both safety and performance. First, the technician marks and secures the indoor mounting plate, checking that it is level. A poorly leveled indoor unit can cause drainage problems and water dripping inside the room.
Next, the team creates a carefully positioned wall opening for the line set and drain pipe. The drain line must maintain the correct slope so condensation flows away naturally. If the pipe rises, bends sharply, or is incorrectly routed, water can back up and leak from the indoor unit.
The outdoor unit is then placed on a stable base or approved bracket. It must be level, firmly secured, and positioned with enough clearance for airflow and maintenance. Outdoor units should not be installed where discharged hot air is immediately pulled back into the condenser, as this reduces efficiency and adds strain to the compressor.
The installer connects the insulated copper refrigerant piping between both units, along with the communication cable and drainage line. Quality workmanship here is essential. Refrigerant connections must be tightened to the correct standard, pipes need proper insulation to prevent energy loss and condensation, and exposed sections should be protected from damage and harsh weather.
Before releasing refrigerant into the system, technicians should pressure-test the pipework for leaks and evacuate moisture and air from the lines using the correct equipment. Skipping these steps may leave contaminants in the system or allow refrigerant to escape slowly over time. The air conditioner may still appear to cool on day one, but its reliability and efficiency can suffer later.
Finally, the system is powered on and tested. The technician should check cooling response, airflow, drainage, remote-control functions, unusual vibration, and error codes. A good handover includes showing you how to set the temperature, select operating modes, clean the filters, and recognize when service may be needed.
Avoid Location Mistakes That Cost You Later
The most convenient wall is not always the best location for an indoor unit. Avoid placing it directly above a bed, desk, dining table, or sofa if the cold air will blow continuously onto people. This can be uncomfortable even when the room temperature is correct. A position that distributes air across the space is usually better.
Do not install the indoor unit near a stove, steam source, or door that is frequently left open. Heat, grease, and constant warm air entering the room make the system work harder. For the outdoor unit, avoid areas where leaves, plastic bags, storage items, or decorative screens can restrict airflow.
Noise is another factor. Modern systems are much quieter than older models, but vibration can travel through weak brackets or thin walls. Proper mounting, stable supports, and vibration control are especially useful near bedrooms and quiet work areas.
Prepare Your Home for the Technician
You do not need to manage the technical work, but a little preparation saves time. Clear furniture and fragile items from the work area, provide access to the indoor and outdoor locations, and keep children and pets away while drilling or lifting equipment is underway.
If the installer needs access to an electrical panel, service balcony, roof area, or building utility room, arrange it before the appointment. Take a few minutes to confirm the planned unit locations and pipe route before drilling begins. This is the easiest time to raise concerns about visibility, furniture placement, drainage, or cable management.
Roukin Al Yarmouk helps customers combine air conditioner selection with professional installation, so the equipment and setup can be handled through one coordinated service.
After Installation: Protect Your Cooling Performance
Once your AC is running, keep the filters clean. In dusty conditions or homes with pets, filters may need attention more often than expected. Dirty filters reduce airflow, make the unit work harder, and can affect indoor air quality.
Use a realistic temperature setting rather than setting the thermostat extremely low. A moderate setting supports comfort while reducing unnecessary strain and electricity use. Keep doors and windows closed when cooling is on, and use curtains or blinds during the hottest part of the day to reduce heat entering the room.
Professional maintenance is still necessary. Routine servicing can include filter cleaning, coil inspection, drainage checks, electrical testing, and performance evaluation. Call for service if you notice weak cooling, ice on the pipes, water dripping indoors, unusual sounds, bad odors, repeated tripping, or a noticeable increase in power use.
Should You Reuse Existing AC Pipes?
Sometimes, but only after inspection. Existing pipework may be the wrong size for the new unit, poorly insulated, damaged, contaminated, or leaking. Reusing it can reduce labor and wall work when it is compatible and in good condition. Replacing it is often the safer choice when the old system had compressor failure, refrigerant issues, or an uncertain service history.
How Long Does Installation Take?
A straightforward single split AC installation may take a few hours. The time changes when access is difficult, piping runs are long, electrical work is needed, or building approvals are involved. A careful installation should not be rushed just to finish faster.
A properly installed air conditioner is quieter, cleaner, more efficient, and easier to maintain. Choose the right capacity, agree on the installation scope before work begins, and make sure testing is part of the job. Those details are what turn a new AC unit into dependable comfort for the seasons ahead.